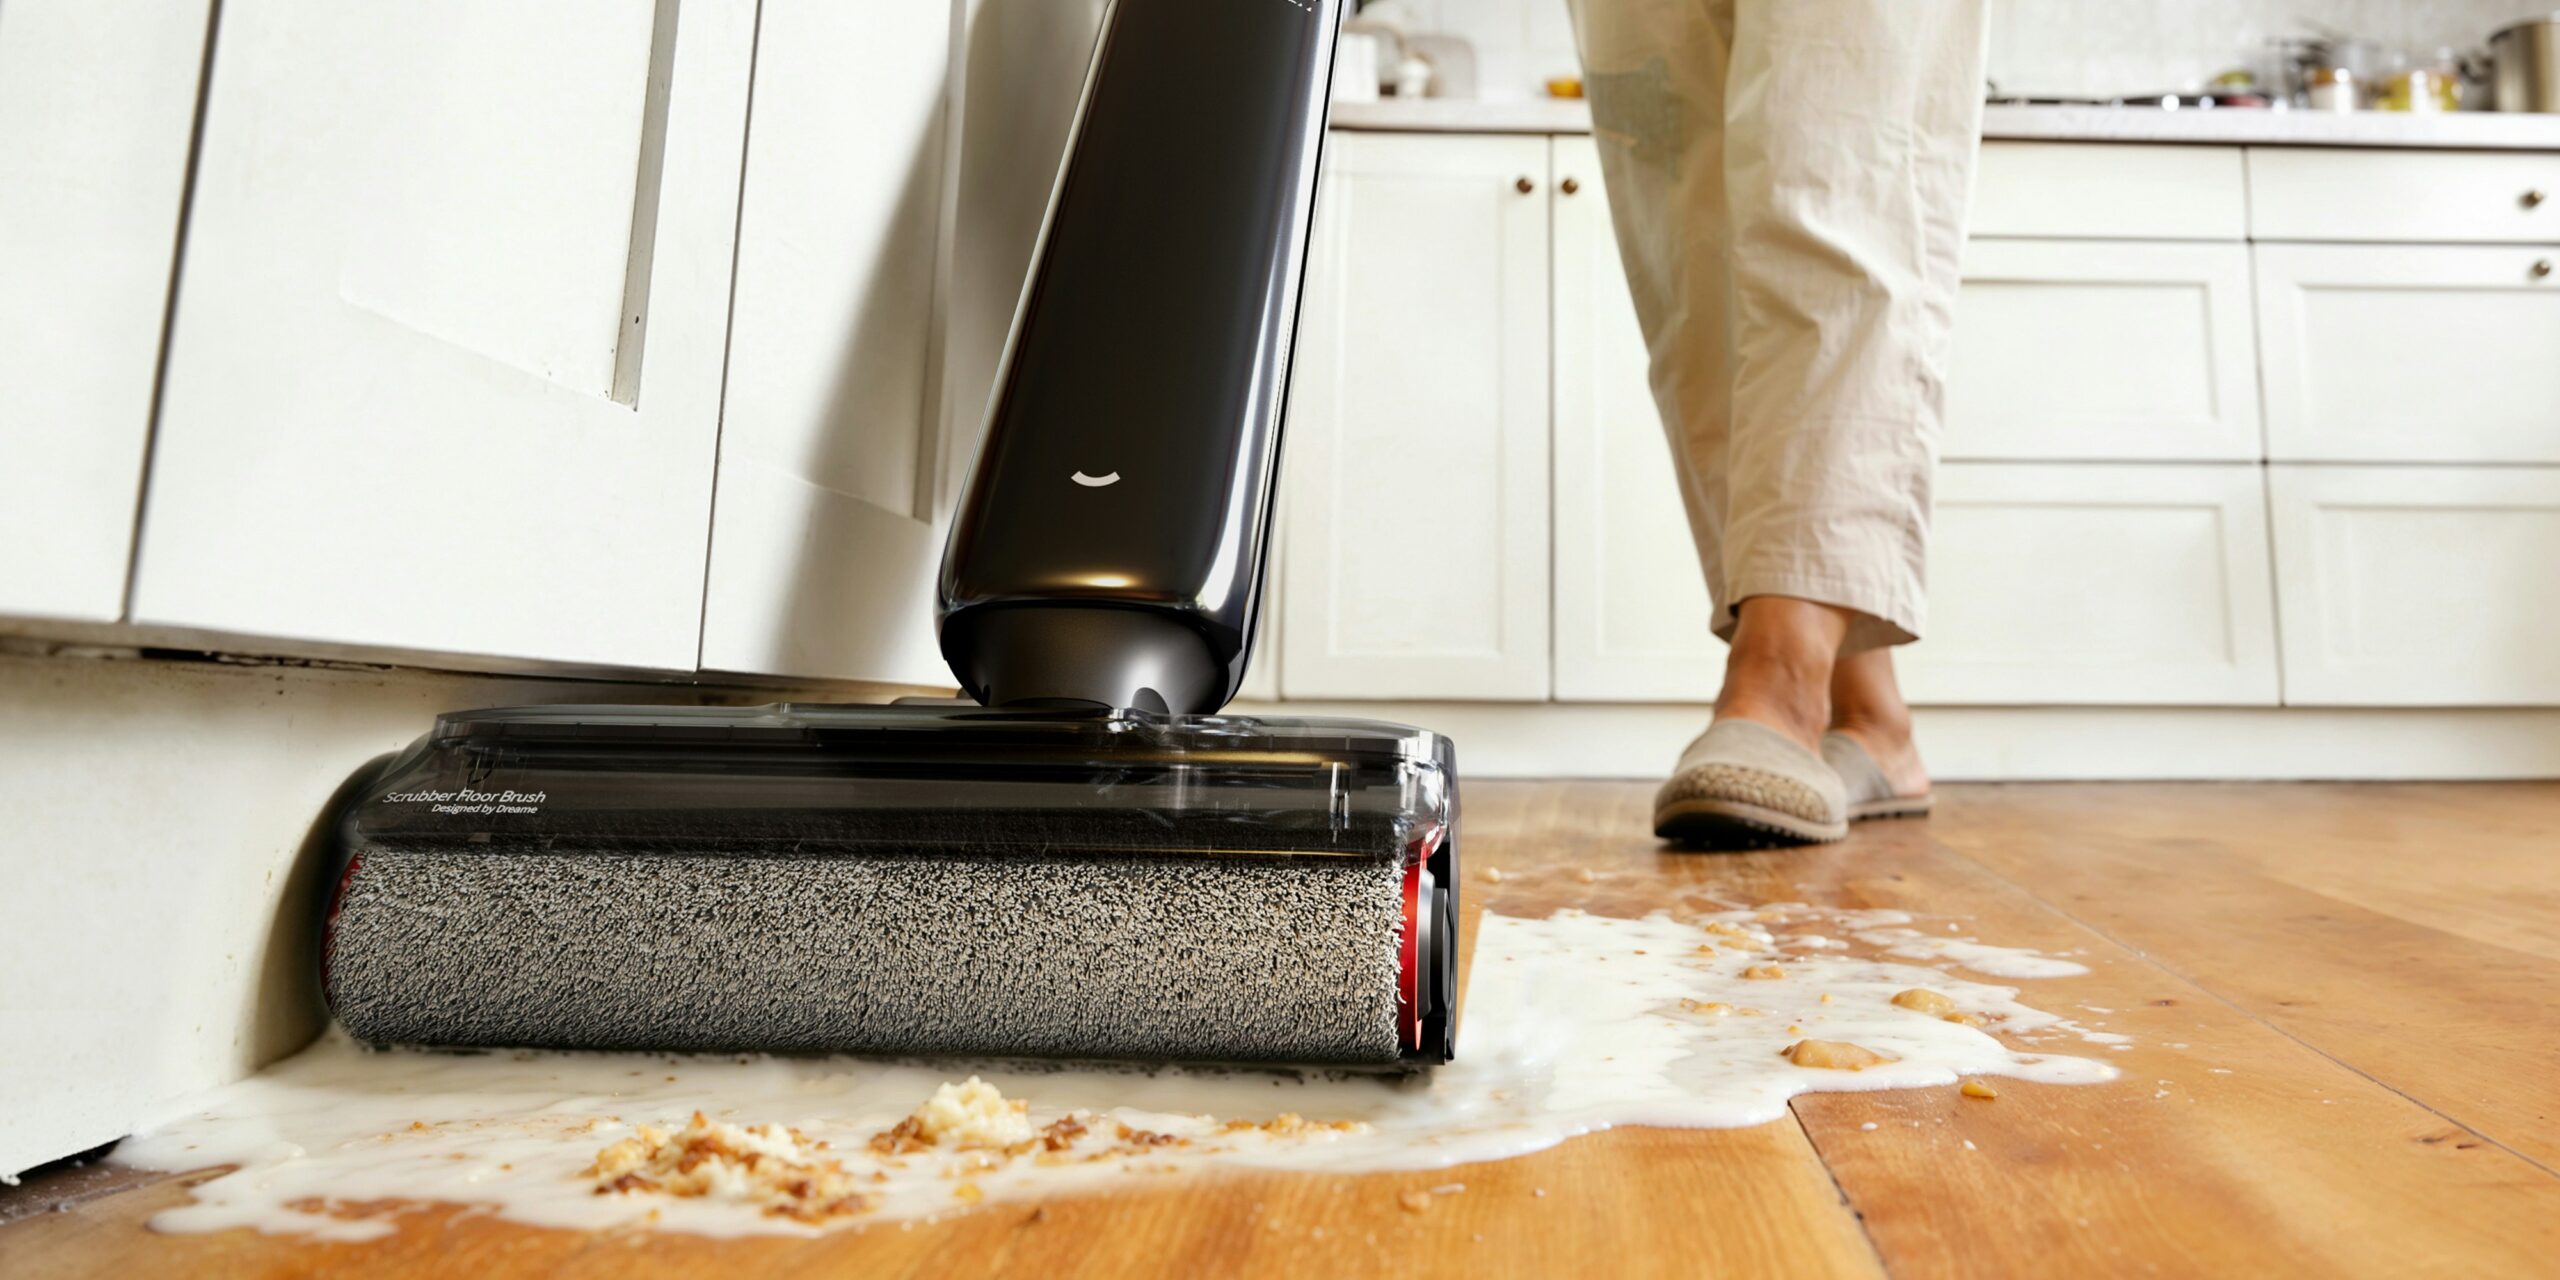
If you want to know how to clean baseboards, the best approach is simple: remove loose dust first, wipe with the right cleaner for the material, and finish by drying the trim completely. You don’t necessarily need to scrub most baseboards – you just need consistency, the proper tools, and a process that suits their finish. Baseboards seem to accumulate dust, pet fur, muddy splashes, and scuff marks quicker than most of us realize, making them a frequent offender of rendering a spotless room dingy. Luckily, once you establish the habit, wiping down your baseboards is one of the speediest methods to freshen up a space.
Why Baseboards Matter
Baseboards are on eye-level with the dirt and grime. They gather dust that’s lofted in from your floor, walls and furniture, and they endure the bumps from the vacuum and your shoes. Baseboards pick up dirt even more quickly in high-traffic spaces like entryways, kitchens, and bathrooms. Cleaner baseboards can even make an entire room appear refreshed, even if you’ve thoroughly vacuumed the carpet. In fact, professional cleaners often finish their routine by treating the baseboards.
What You Need
You do not need much to clean baseboards well. Most guides recommend basic tools and mild cleaning solutions rather than harsh chemicals.
Useful supplies include:
- A vacuum with a brush attachment or upholstery tool.
- A microfiber cloth or soft sponge.
- Warm water and mild dish soap.
- Cotton swabs or an old toothbrush for corners and grooves.
- A melamine sponge for scuffs, if the finish can handle it.
- A dry towel for final drying.
If you are cleaning painted trim, stained wood, or vinyl, the cleaner should match the surface. That matters more than using a “strong” product.
How to Clean Baseboards Step by Step
1. Clear the Area
Pull large furniture pieces, decor, baskets or any objects obstructing access from the wall if possible. This way you’ll have clear and easy access to clean all of your baseboards from bottom to top. If you have a really full room, take on one section at a time and make sure not to get around any items or skip areas.
2. Vacuum or Dust First
Start with dry cleaning. It is important to dust or vacuum before wetting your cleaning rags, as you don’t want to simply spread dirt around the window frame. The floor and ridge should get a good vacuum, preferably using a brush attachment, although a microfiber cloth or even an old duster will remove a surprising amount of grime.
3. Wipe With a Mild Cleaning Solution
Most baseboards just need hot water with a drop or two of dish soap, making safe household cleaning methods a practical approach for routine maintenance. Dampen a microfiber cloth, wring it out completely, then wipe from side to side a few inches at a time. Keep from saturating the trim: The excess water causes a mess with both painted and unfinished wood, and is usually overkill for just grime.
4. Clean Grooves and Corners
This usually happens in the little creases in your trim and in those corners or in the seam between the baseboard and the wall. This is another great time for a cotton swab or a used toothbrush, as these can reach where cloth just won’t go.When cleaning detailed ornamental carvings, apply only gentle pressure and replace the cotton swab or cloth with a fresh one whenever it gets dirty. You want to remove dust and debris, not scrub it into the carving.
5. Remove Scuffs
To remove scuff and dark marks, use a melamine sponge or a cloth that is only a little damp. Most guides on using a magic eraser emphasize being gently with the process, as rubbing too hard could potentially dull a smooth, finished surface. Test on an inconspicuous spot before you try to tackle the problem areas of your furniture if you aren’t certain how it will hold up.
6. Dry the Trim
3. Dry with a microfiber cloth Using a dry microfiber cloth after wiping with the cleaning spray will help take away the remainder of the moisture, which can cause the trim to streak, particularly if it is painted trim or has a wood coating. As a rule of thumb, when cleaning wood surfaces or even some painted areas, a wet surface means nothing good and if trapped moisture on porous materials could possibly begin to eat into the wood if not properly removed.
Cleaning by Baseboard Type
Different materials need slightly different handling, which is why the best answer to how to clean baseboards depends on what they are made of.
If you are unsure of the finish, start with the gentlest option: dry dusting and a barely damp microfiber cloth. You can always step up from there.
How Often to Clean Them
Cleaning of baseboards in high-trafficked zones must come with higher regularity as against these in unused rooms and rooms for visitors. Home care professionals advice a once-a-week dusting in entrance areas, bathroom areas, and kitchen areas while using the “less frequently used rooms.” Deep cleaning is not a necessity with houses, and a simple cleansing of baseboards in most homes every two months would have to do and touch-up cleaning must be done whenever spots and scribbles seem to show up on walls.
Common Mistakes
A lot of frustration with how to clean baseboards comes from using the wrong method rather than from the dirt itself. Common mistakes include:
- Skipping dry dusting and going straight to a wet cloth.
- Using too much water on wood or painted trim.
- Scrubbing too hard with abrasive tools.
- Forgetting the top ledge and grooves where dust settles.
- Cleaning around furniture so thoroughly that you miss the most visible sections.
Avoiding those mistakes makes the job faster and safer for the finish while helping preserve painted wood surface care over time.
Practical Cleaning Routine
A simple routine works better than a complicated one, just like following how to clean a mattress as part of a complete home cleaning routine. For most homes, this approach is realistic:
- Dust or vacuum the baseboards.
- Wipe them with a mildly soapy cloth.
- Use a cotton swab for corners and grooves.
- Treat scuffs with a gentle sponge.
- Dry the surface completely.
That sequence is efficient because it moves from dry cleaning to wet cleaning and then to detailing. It also keeps dirty water from turning dust into mud.
Extra Tips for Faster Results
It might make the job easier if you also adopt a couple of professional-quality techniques. Divide the room you are cleaning into small sections so the cleaner doesn’t have time to dry before you wipe it off. Refill your water if the solution becomes dirty.
Use a kneeling cushion to protect your knees if you are cleaning an entire room, because if you’re more comfortable the job goes quicker.
If you have your microfiber cloth and hand vacuum on hand you will find that those tiny amounts of dust never accumulate into something more daunting — it also marks the difference between doing a 10 minute spruce up and a 3 hour long deep clean.
Conclusion
Knowing how to clean baseboards is mostly about using the right order: dust first, wipe gently, clean details with small tools, and dry the trim well when you are done.
Get back to clean with the method to suit the material. Keep up with regular clean-ups of the bottom edge of your room’s walls and your baseboards can transform from a tiresome pain to a simple tidying up step that revamps your entire room.
Often Ask Questions About How To Clean Baseboards
1. What is the best thing to clean baseboards with?
For most baseboards, a microfiber cloth, warm water, and a small amount of dish soap are enough. A vacuum brush attachment is helpful for removing dust first.
2. Should I dust or mop baseboards first?
Dust first. Dry cleaning removes loose dirt so you do not smear it around with a wet cloth.
3. Can you use a magic eraser on baseboards?
Yes, a melamine sponge works well on scuffs but be careful because if you rub too hard on certain finishes it will dull them out.
4. What’s the best way to scrub grooves out of a baseboard?
A cotton swab or the old toothbrush you use for cleaning out the insides of narrow jars works great! They get into the corners and all the nooks and crannies in carved moldings, which a cloth can’t do.
5. Can you use vinegar on baseboards?
You’ll see a variety of solutions recommended by home cleaning articles but water and mild soap usually gets the job done safely when it comes to paint or wood finishes.
6. How often should baseboards be cleaned?
Give these areas more frequent attention in high traffic rooms, and have a deep clean done when you deem it necessary. Weekly cleaning in active rooms and monthly cleaning in lesser-used rooms seem to be recommended by many people.
7. What should I not do when cleaning baseboards?
Avoid the pitfalls: “Don’t over-saturate the boards with water, use abrasives or skimp on drying,” says Valero.The first can harm finishes, while the second leaves visible streaks.