Cooking meat to the perfect temperature can be challenging, even for experienced home cooks. Explore more home cooking tips for practical kitchen advice. While color, texture, and cooking time provide helpful clues, they don’t always accurately indicate whether meat has reached a safe internal temperature. That’s why learning how to use a meat thermometer is one of the most valuable kitchen skills you can develop.
Stop guessing where your steak, roast or chickenbreast is-whether it’s at the safe-to-eat center or dried out–by slicing it and letting all of its juicy flavorful goodness flow right onto your countertop.
From Burgers & roasts, BBQ and of course pork and turkey – you can always rely on a meat thermometer that ensures each bite you make is prepared perfectly. A must have to prevent dangerous pathogens and bacteria particularly with poultry, all ground meats and big roasts need to meet particular temps for your confidence and their sake.
In this guide, you’ll learn how to use a meat thermometer correctly, understand the different types available, know where to insert the probe, and avoid common mistakes that can lead to inaccurate readings.
Why Using a Meat Thermometer Matters
While it may sound like the most obvious approach, simply cooking the meat for a certain length of time, or cooking it until it looks done, can be a risky business. This is because cooking time can range quite widely, depending on the thickness of the meat, the heat capacity and temperature inaccuracy of your oven, the heat of the grill, and the temperature of your meat when it begins cooking.
For instance, some chickens may look a little pink on the inside, despite being perfectly cooked, whilst a leaner pork cut can look ‘well-cooked’ but has still not reached a safe cooking temperature. Large roasts of meat also continue to cook when they have been taken out of the oven.
A meat thermometer provides an objective measurement, helping you cook meat to safe minimum internal cooking temperatures.
- Cook food to a safe internal temperature.
- Prevent undercooked meat that may contain harmful bacteria.
- Avoid overcooking and drying out expensive cuts.
- Improve consistency in your cooking.
- Reduce food waste caused by guesswork.
Whether you’re preparing a quick weeknight dinner or hosting a holiday feast, using a thermometer can significantly improve both food safety and quality.
Understanding the Different Types of Meat Thermometers
Before learning how to use a meat thermometer, it’s helpful to know which type you have. Each style serves a slightly different purpose.
Instant-Read Thermometers
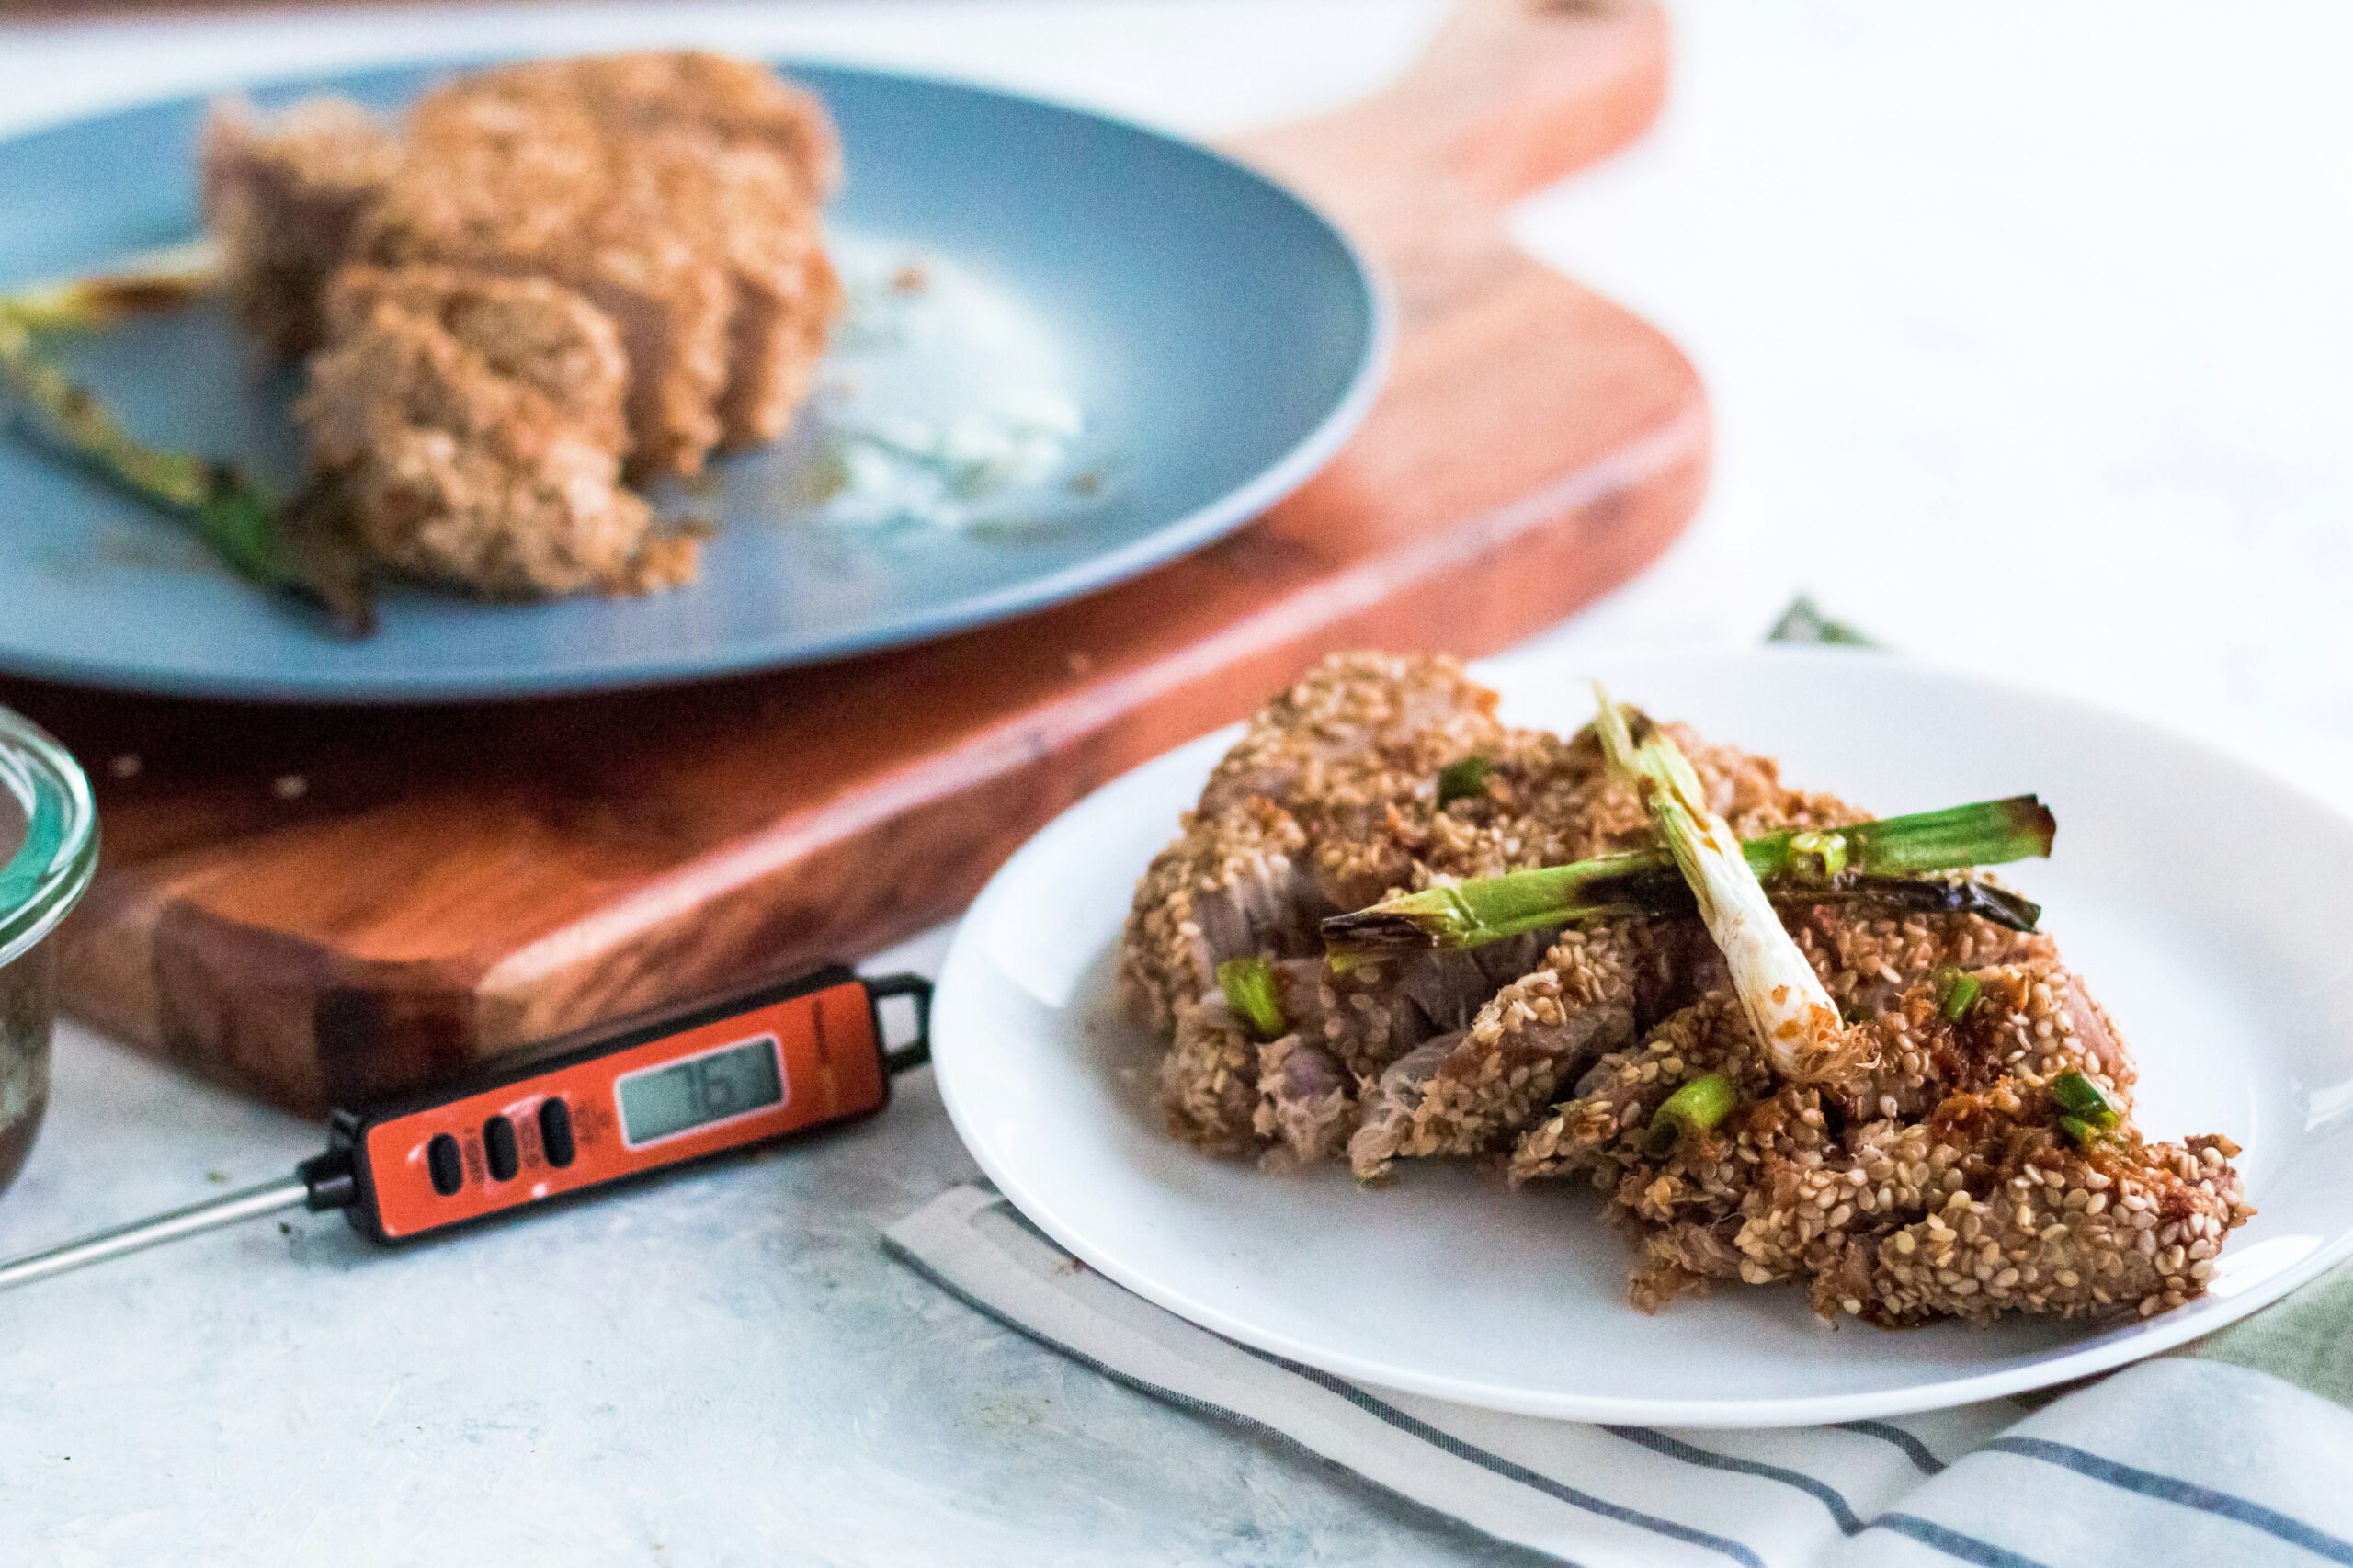
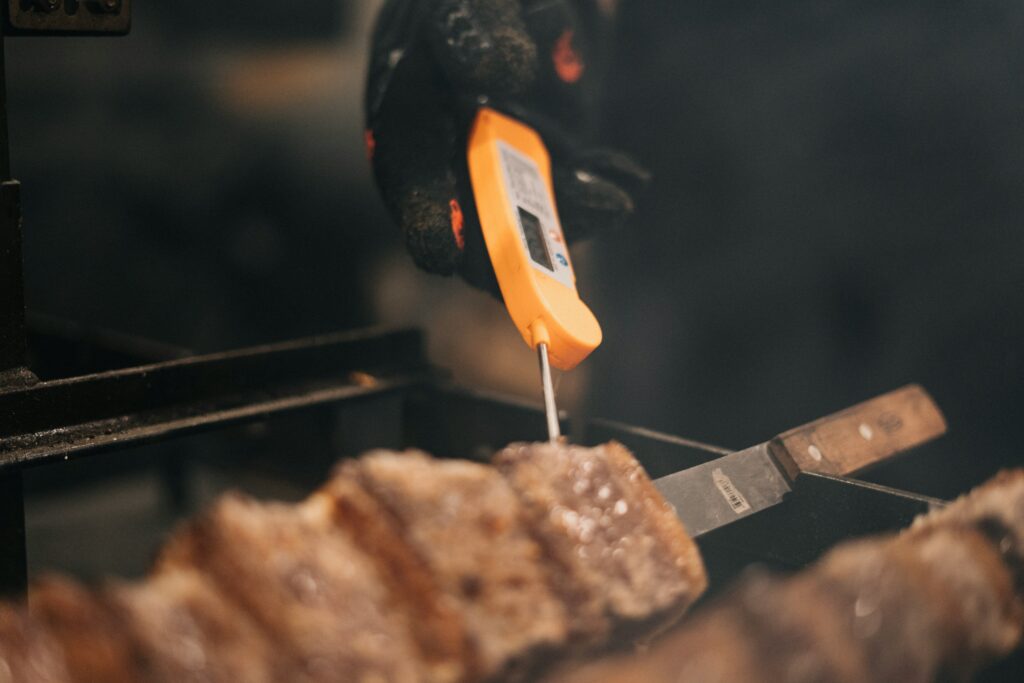
Instant-read thermometers are one of the most popular options for home cooks. They usually take a fraction of a second to give a temperature reading, so they are great for checking the temperature of steaks, chicken breasts, pork chops, burgers, or other small pieces of meat.
They are not left in the food while it is cooking, so they are typically used towards the end of the cooking process.
Digital Probe Thermometers
Probe thermometers are left in the food while it cooks. A heat-resistant wire connects the probe to a digital thermometer that displays the temperature.
These thermometers are great for roasting whole chickens, turkey, brisket, pork shoulders, and other large cuts of meat that need slow, even cooking for several hours.
Oven-Safe Dial Thermometers
Some traditional dial thermometers can be left in roasts while they cook.
Although they are not as sensitive and responsive as their digital counterparts, they can be useful for larger cuts of meat. However, it is important to make sure that the thermometer is oven-safe before leaving it in the food while it cooks.
Wireless Smart Thermometers
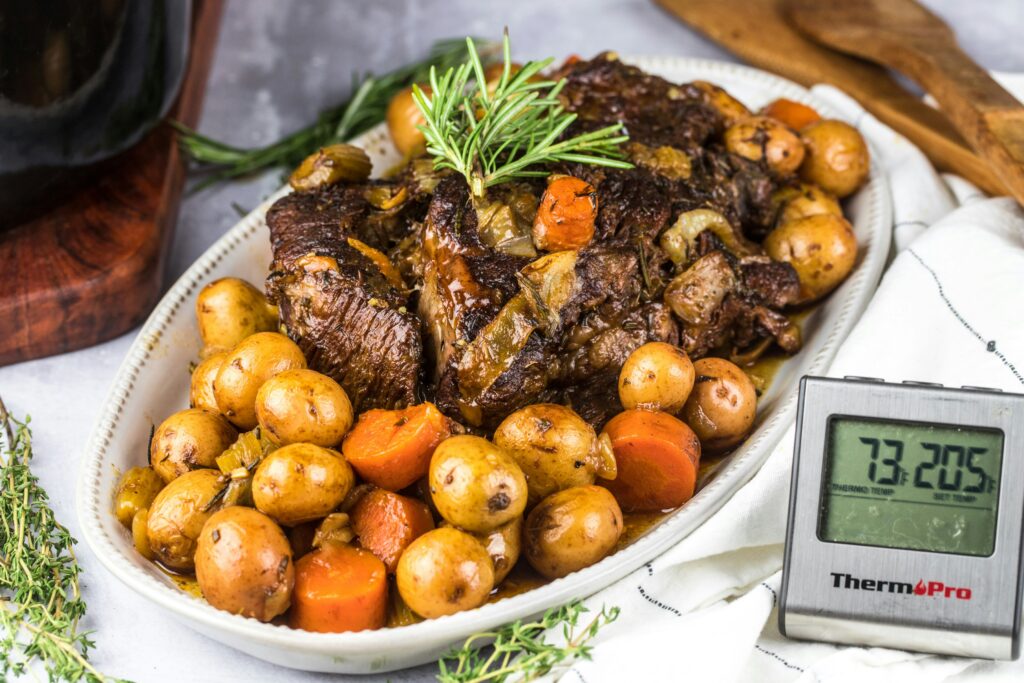
Wireless thermometers are connected to a smartphone via Bluetooth or WiFi. These modern thermometers can be used for grilling and smoking meat or cooking large cuts of meat outdoors.
Choosing the Right Thermometer
The best thermometer depends on your cooking habits.
If your typical cooking fare consists of the day-to-day, a reliable instant-read digital model will serve you well for quick readings. But if your special occasions or regular weekend pursuits typically include roasting whole birds, smoking a brisket or, alternatively, preparing larger cuts of meat with this technique, a digital probe model can be well worth its more substantial price tag as it keeps reading on a large cut long after you have closed the grill lid or the oven door. – The Kitchn
How to Prepare Before Checking the Temperature
Knowing how to use a meat thermometer starts before the probe ever touches the food.
First, make sure your thermometer is clean. Wash the probe with warm, soapy water and dry it thoroughly before inserting it into raw or cooked meat. This helps prevent cross-contamination between foods.
Digital thermometers If it’s an electronic/digital thermometer you want to make sure it’s functioning correctly – not only battery life, but the screen is okay. Many digital thermometers let you calibrate the unit – to get even more accurate temperature-readings. If yours comes with directions for calibration, take advantage of them sometimes; especially after you’ve done any major trauma to your unit (like dropped it), and haven’t used it in some time.
And, remember not all meats read the same temperature. If you’re going to take temperature readings frequently enough that they become a part of your food, it’s best to keep an updated food-safety-temperature chart near the grill!
Where to Insert the Meat Thermometer
One of the most common mistakes people make when learning how to use a meat thermometer is placing it in the wrong location.
For the best readings, always insert the probe into the thickest portion of the meat (this part always takes longest to cook) do not rest it on bone, lumps of fat or the pan you are cooking on.
Poultry should be checked in the breast or in the inside of the leg taking care to avoid the bone (in both cases check the part which takes the longest to cook). For steaks, pork chops, burgers and sausages, insert the probe in at the side of the meat until the correct depth is reached in the center. Roasts should be checked where they are deepest avoiding bones and fatty parts.
Correct probe placement is as crucial as the thermometer itself.
How to Use a Meat Thermometer Step by Step
Now that you know where to position it, the next task is to use the thermometer correctly. There are also some simple rules to help you obtain precise measurements. Following these steps will help you get an accurate temperature and allow you to prepare more delicious meat dishes.
1. Position the Thermometer Properly
For the best results, insert the thermometer into the thickest area of the meat. It should not touch any bones, fatty tissues, or the walls of the pan, as these areas may have a different temperature from the core of the meat. In thinner cuts of meat, such as burgers and pork chops, the thermometer should be inserted from the side so that the tip is in the center.
2. Wait Until the Thermometer Stops Steaming
If you are using an instant-read thermometer, you need to wait a few seconds after inserting it until the temperature stabilizes. Usually, digital thermometers indicate the temperature instantly, while dial thermometers take a little longer to stop spinning. At the same time, you must not remove the thermometer from the meat, as this will give you an incorrect temperature reading.
3. Compare the Result with the Required Temperature for Each Type of Meat
Each type of meat has its own minimum temperature that indicates that it is done. As a rule, there are recommended temperatures to which meat should be heated so that it is fully cooked and safe to eat. Below are some approximate temperatures for different types of meat:
| Meat | Minimum Safe Internal Temperature |
| Chicken & Turkey | 165°F (74°C) |
| Ground Beef | 160°F (71°C) |
| Beef, Lamb & Veal (Steaks/Roasts)* | 145°F (63°C) with a 3-minute rest |
| Pork | 145°F (63°C) with a 3-minute rest |
| Fish | 145°F (63°C) |
*Cooking preferences for beef may vary, but these temperatures are commonly recommended for food safety.
If the meat hasn’t reached its target temperature, continue cooking and check again after a few minutes.
Step 4: Allow the Meat to Rest
After taking the meat off the fire, allow it to rest before slicing.
Large cuts of meat, like turkey, roast beef, and pork loin, continue to cook for a short while after being taken from the heat source due to carryover cooking. This happens because the juices in the meat need to settle before cutting, which also makes the meat more tender.
Step 5:
Cleaning the thermometer.
Make sure to clean the probe of the thermometer with warm and soapy water after every use. This removes any bacteria and keeps the thermometer free of contaminants that could affect the next meal.
Common Mistakes to Avoid
Even after learning how to use a meat thermometer, a few common mistakes can lead to inaccurate readings.
Avoid these errors:
- Measuring too close to a bone.
- Checking the temperature too early in the cooking process.
- Not inserting the probe deep enough.
- Forgetting to clean the thermometer after handling raw meat.
- Relying only on cooking time instead of checking the internal temperature.
Taking a few extra seconds to measure correctly can make a noticeable difference in both food safety and cooking results.
Frequently Asked Questions
1. Where should I insert a meat thermometer?
Make sure to insert it in the thickest part of the meat, avoiding the bone, fat, and hot cooking pan.
Is it safe to leave a meat thermometer in the oven?
Only if it is an oven-safe type. Instant-read thermometers must be removed from the oven to check the temperature.
3. How often should I check the temperature with a thermometer?
It is better to start checking towards the end of the cooking time since different parts of the meat require different cooking times. If the thermometer shows that the meat is not yet done, return it to the oven and check again after a few minutes.
4. Why is my thermometer showing an incorrect temperature?
The causes may be improper placement of the thermometer, touching the bone, a defective battery in the instant-read thermometer, or a faulty thermometer.
5. Do I need to clean a meat thermometer after each use?
Yes. It is necessary to properly care for the thermometer by washing it after each use with warm soapy water.
6. Is a meat thermometer better than estimating the doneness of meat by its color?
A meat thermometer is a better choice because a meat’s color can be misleading, and the only way to know for sure that the meat has reached the desired temperature is to check with a thermometer. It helps determine whether the food is properly hot and, thus, safe to eat.
Conclusion
Knowing how to use a meat thermometer is one of the easiest ways to ensure food safety and get the most out of your meal. Instead of being unsure if the meat is done enough, just check the temperature with a thermometer. It will help you cook your burgers, turkey, and other meals to perfection. The correct use of a thermometer, along with the right timing and the thermometer’s proper use will prevent undercooking or overcooking of your meal.